How to Use an Ultrasonic Thickness Gauge?
The principle of ultrasonic pulse reflection underlies the majority of ultrasonic thickness gauges. When an ultrasonic pulse from the probe passes through the measured object and is reflected back to the probe, the thickness of the material being measured is determined by precisely timing the ultrasonic wave's propagation through the material. Ultrasonic metal thickness gauges can measure the thickness of several metal plates and processed components. They can also monitor the wall thickness of pipelines and boiler vessels as well as any local rusting, corrosion, and corrosion. In many industries, including those related to petroleum, chemicals, metallurgy, manufacturing, shipbuilding, and aerospace, ultrasonic metal thickness gauges are employed.

Measurement Method
Grid measurement method:
Using an ultrasonic metal thickness gauge and point thickness measurement statistics in the grid-designated region. The monitoring of corrosion in high-voltage equipment frequently uses this technique.
30mm multi-point measurement method:
The lowest value for the thickness of the metal being measured should be taken at a measurement site in the center of a circle with several measurements within a range of about 30 meters when the measurement value is not particularly steady.
Typical measuring technique:
When the split surface of the probe is 90 degrees from one another during the two measurements, measure the thickness once with the probe and take the minimum value as the thickness of the metal to be measured.
Continuous measurement method:
Continuous measurement using a single point measuring technique along the designated path with a maximum 5 mm measurement interval.
Precise measurement method:
Around the designated measurement point, further measurements are taken, and a line of equal thickness marks the change in thickness.
Instrument usage method
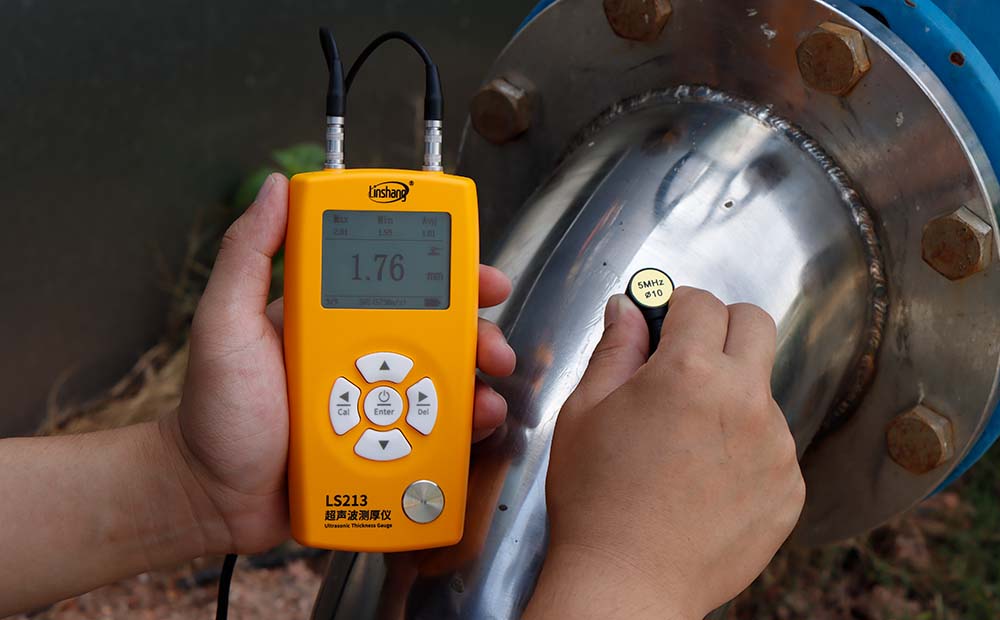
Let's take Linshang's LS213 ultrasonic thickness gauge as an example to introduce how to use the instrument.
1.Reference Calibration
Connect the two aviation plugs to the instrument host before using; the plugs are not left and right-sided; both sides may be inserted. To turn on the instrument, open the reference adjustment interface, and operate as instructed by the interface prompts, briefly push the power button. Coupling agent should be applied to the standard block on the instrument's lower right. The coupling agent should completely cover the probe when you apply strong pressure and maintain contact with the standard block. The coupling symbol will appear in the top right corner of the screen and the calibration progress bar will flash to show that calibration is ongoing; do not move the device during this procedure. Until the calibration progress indicator stops blinking and a warning message appears. Until the reference calibration is finished, at which point the calibration progress bar stops blinking and a beeping sound is heard. The calibration result, together with information on the standard block thickness, standard block sound speed, and current sound speed, will be shown on the screen. The calibration will be finished when the device enters the measurement screen.
2. Select the sound velocity setting
Set by material:
Select the sound velocity corresponding to the same material as the metal material to be tested for measurement. This method is suitable for statistics of the sound velocity of the known metal or metal material in the instrument.
Set by thickness:
Select a sample of the same material as the metal to be tested with a known thickness, apply coupling agent on the surface of the sample, press the probe tightly on the surface of the sample, and then adjust the actual thickness of the sample by pressing the up and down keys. After saving the sound velocity, press the probe tightly on the surface of the sample. The thickness of the metal surface to be tested can be measured. This method is suitable for measuring the sound velocity of unknown materials.
Manual imput:
For the sound velocity of known materials, you can directly input the sound velocity and save it, then directly measure the metal material to be tested to get an accurate value. This method is suitable for the sound velocity of the metal material to be tested is known or the sound velocity of the metal to be tested has been calculated in the way of setting the sound velocity with a known thickness.
3. Select measurement mode
QC mode:
Can select the system settings through the main menu, you can select the QC mode in the mode selection, you can set the limit value, the instrument will automatically determine whether the measured thickness is qualified
Statistical mode:
Can choose the statistical mode in the mode selection, the instrument will automatically count the maximum value, minimum value and average value among the nine groups of data detected.

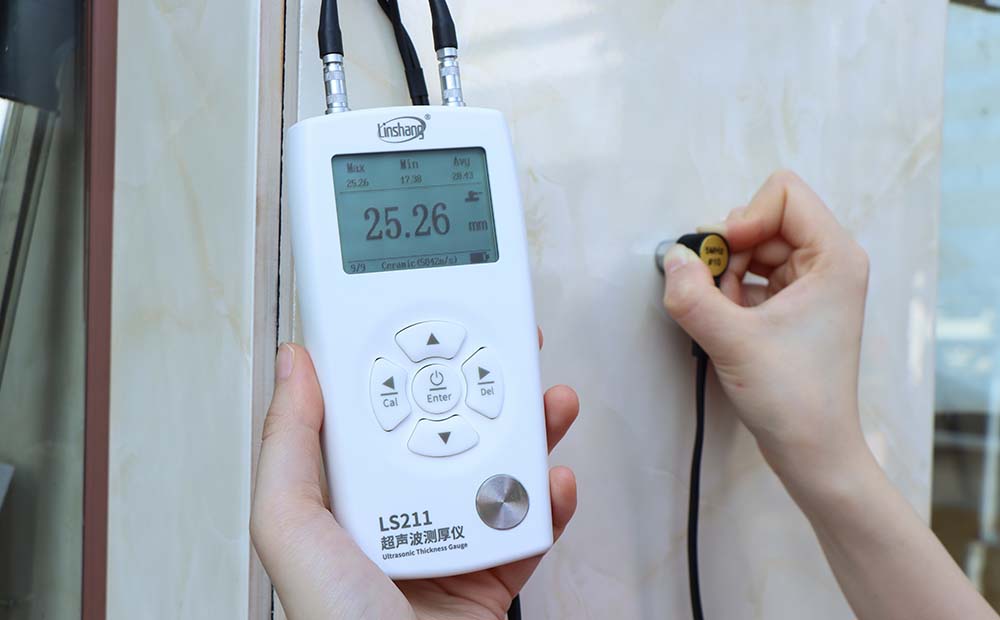
LS213 ultrasonic thickness gauge measures metal

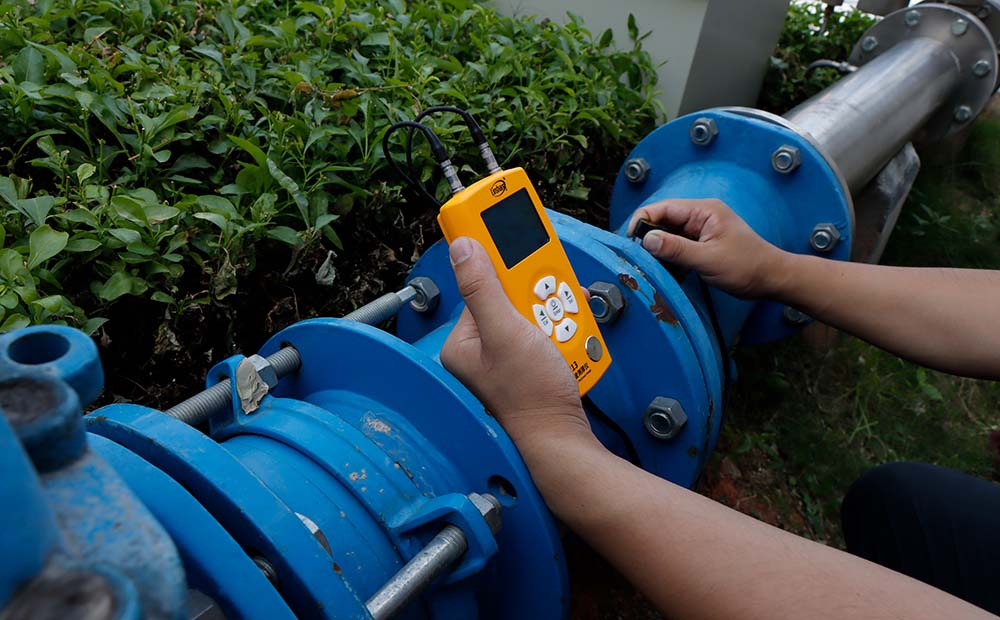
LS213 ultrasonic thickness gauge measures pipes
Precautions for use
Before calibration, check whether the numbers on the host display are clear to avoid shortages, hidden lights, etc.;
Keep the appearance of the standard block clean, without any appearance defects that affect the accuracy, such as rust;
The use of couplant, pay attention to the couplant should not be too small, it needs to cover the probe area;
During the calibration process, keep the probe tightly attached to the standard block and keep it still to ensure the accuracy of the data.
Because the sound velocity of different types of materials is different, it is recommended to measure the sound velocity of the same type of material according to the known material thickness first, confirm the sound velocity and then measure the material thickness, so that the measurement is more accurate;
Because of the principle of ultrasonic pulse reflection, the instrument cannot measure the thickness of insulating glass, because ultrasonic waves cannot penetrate the joint surface without coupling, so multi-layer materials such as insulating glass consisting of two layers of glass and air layers cannot be measured. ;
When measuring curved glass materials, it is necessary to pay attention to parallel or coaxial with the measurement material. In addition, it is also necessary to pay attention to the size of the material, and the probe of the instrument must be fully covered for accurate measurement;
When measuring irregular glass, there may be uneven thickness, which will affect the measurement of the instrument. We need to position and measure the material;
Problems and Solutions
1. The surface roughness of the test object is too large
Surface roughness is too large will cause the probe and contact surface coupling effect is poor, the reflected echo low, or even can not receive the echo signal, resulting in no instrument readings. Therefore, we should try to reduce the roughness before the test, but also to remove the oxide and paint layer to reveal the metallic luster. Before the test should be all the dust, dirt, oil, etc. on the surface of the test object should be thoroughly removed to keep it clean and clear.
2. The measured object has a lot of corrosion
Ultrasonic wall thickness gauge in the pipeline material is widely used, and the pipeline material is easy to rust and corrosion, especially the back, internal and other locations that can not be observed. Deposits and corrosion pits, etc. have a large impact on the measurement, which may cause acoustic attenuation, irregular changes in readings, or even no readings, can be removed by sand, grinding, frustration and other methods, the corrosion part of the treatment, in addition to the material should also be regularly maintained.
3. Surface test object radius is too small
As the instrument commonly used probe surface layer for the plane, and surface contact is generally point contact or line contact. When the radius of the curved surface of the test object is too small, especially when the small diameter pipe thickness measurement, poor coupling will lead to low transmission rate of sound intensity, resulting in the inability to read the situation. This situation can be used for small diameter special probe, to ensure that the measured object can cover the probe surface, can be more accurate detection of curved materials such as pipes.
4. The detection surface of the test object is not parallel to the bottom surface
According to the principle of ultrasonic pulse reflection, the material to be measured on the other side of the surface must be parallel or coaxial with the surface to be measured, the detection surface and the bottom surface is not parallel to the situation, will lead to scattering of sound waves encountered on the bottom surface, the probe can not accept the bottom wave signal, resulting in measurement errors or the consequences of no readings. In the selection of the object to be measured or selected test point, you need to pay attention to the test object detection surface and the bottom surface is in parallel or coaxial.
5. Composite materials can not be used
Ultrasonic waves in multi-layer materials, composite (non-homogeneous) materials and other test objects, can not pass through the space without coupling, and can not propagate uniformly in the composite material. For the equipment made of multi-layer material wrap, thickness measurement to pay special attention to the ultrasonic wall thickness gauges only indicate the thickness of the layer of material in contact with the probe. Before conducting the measurement, you need to make a selection of the test volume.
6. The wrong choice of sound velocity
The main characteristic of an ultrasonic thickness gauge is its ability to measure sound velocity. If the instrument is calibrated with one material before being used to measure another, the results are likely to be inaccurate. Therefore, it is essential to precisely identify the substance being measured before picking the suitable sound speed. For instance, there are three ways to set the sound velocity for the LS213 ultrasonic wall thickness gauge: according to the known kind of material to establish its speed; according to the known thickness of the standard block; and according to the known sound velocity straight into the value.Simple and straightforward methods for setting the sound velocity can help to better prevent situations when the velocity of sound is incorrectly chosen.
7. Temperature effect
General solid materials in the speed of sound with its temperature increases and decreases, there are test data show that the hot state of the material every 100 ° C increase, the speed of sound decreased by 1%. Therefore, in the case of high temperature, should be selected for high-temperature special probe. LS213 ultrasonic wall thickness gauge double crystal probe, in non-extreme temperature conditions can be used normally.
8. Coupling agent influence
Coupling agent is used to exclude the air between the probe and the object to be measured, so that ultrasound can effectively penetrate the workpiece to achieve the purpose of detection. If the coupling agent is not used, the type of choice or usage is not appropriate, it may cause errors and can not be measured. Therefore, according to the use of the situation to choose the appropriate type, when used in the smooth material surface, you can use a low-viscosity coupling agent; when applied to rough surfaces, vertical surfaces and top surface, should use a high viscosity coupling agent; high-temperature products workpiece should choose high-temperature coupling agent. Secondly, the coupling agent should be used in appropriate amount and applied evenly. Generally, the coupling agent is applied to the surface of the material to be measured, but when the measurement temperature is high, the coupling agent should be applied to the probe.
- Paint Gloss Meter | How to Make High Gloss Paint?
- Influencing Factors of Curing Time of UV Glue and Selection of Ultraviolet Energy Meter
- How to Test if the Sunglasses have UV400 Protection?
- Use Window Tint Light Meter to Measure Glass Transmittance
- Diffusion Plate Classification and Use | Diffusion Plate Transmittance Meter
- UV Curing Knowledge